

PX4 Triggers
This section walks you through how to create a trigger to automatically process PX4 ULog files.
Triggers allow you to run actions whenever new files are uploaded to your Roboto account.
Enable existing trigger
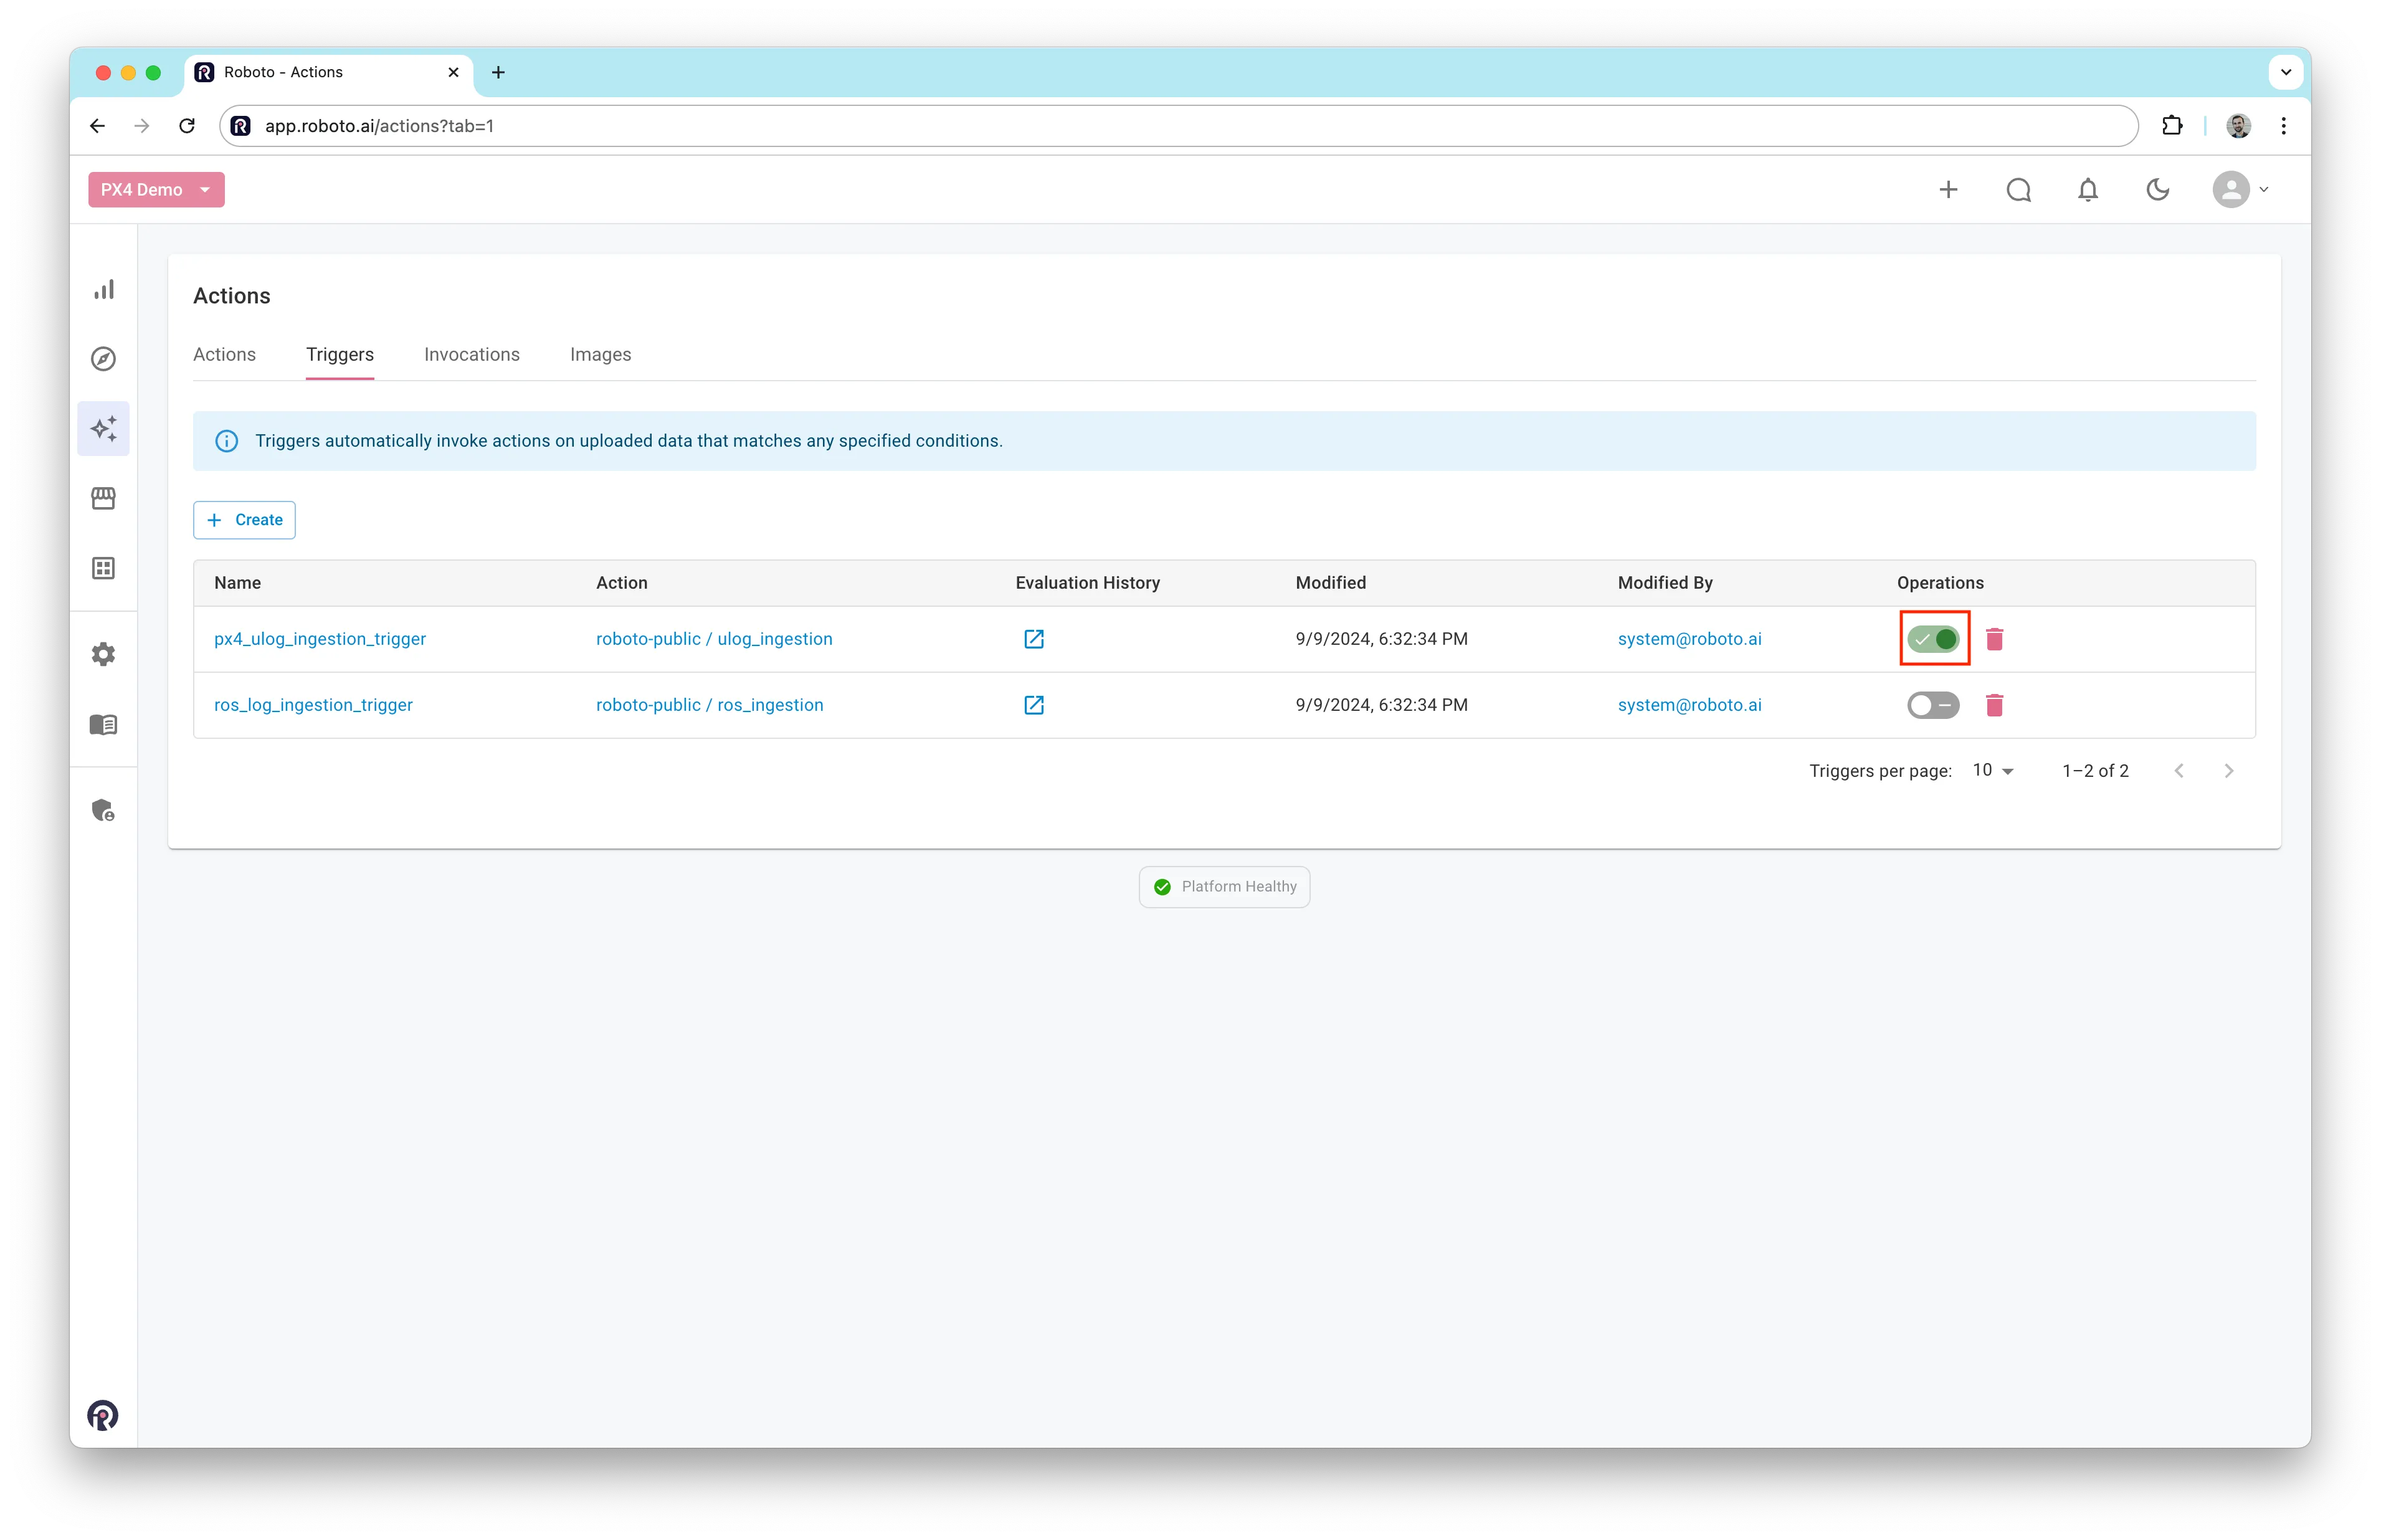
During sign-up, you may have opted to automatically create a trigger in your account. If so, there’s no need to create a new one—just ensure it’s enabled.
- Go to your account’s triggers page: Triggers
- Look for a trigger named
px4_ulog_ingestion_trigger. If it’s there, ensure the toggle button is switched to enabled (green).
Create a trigger
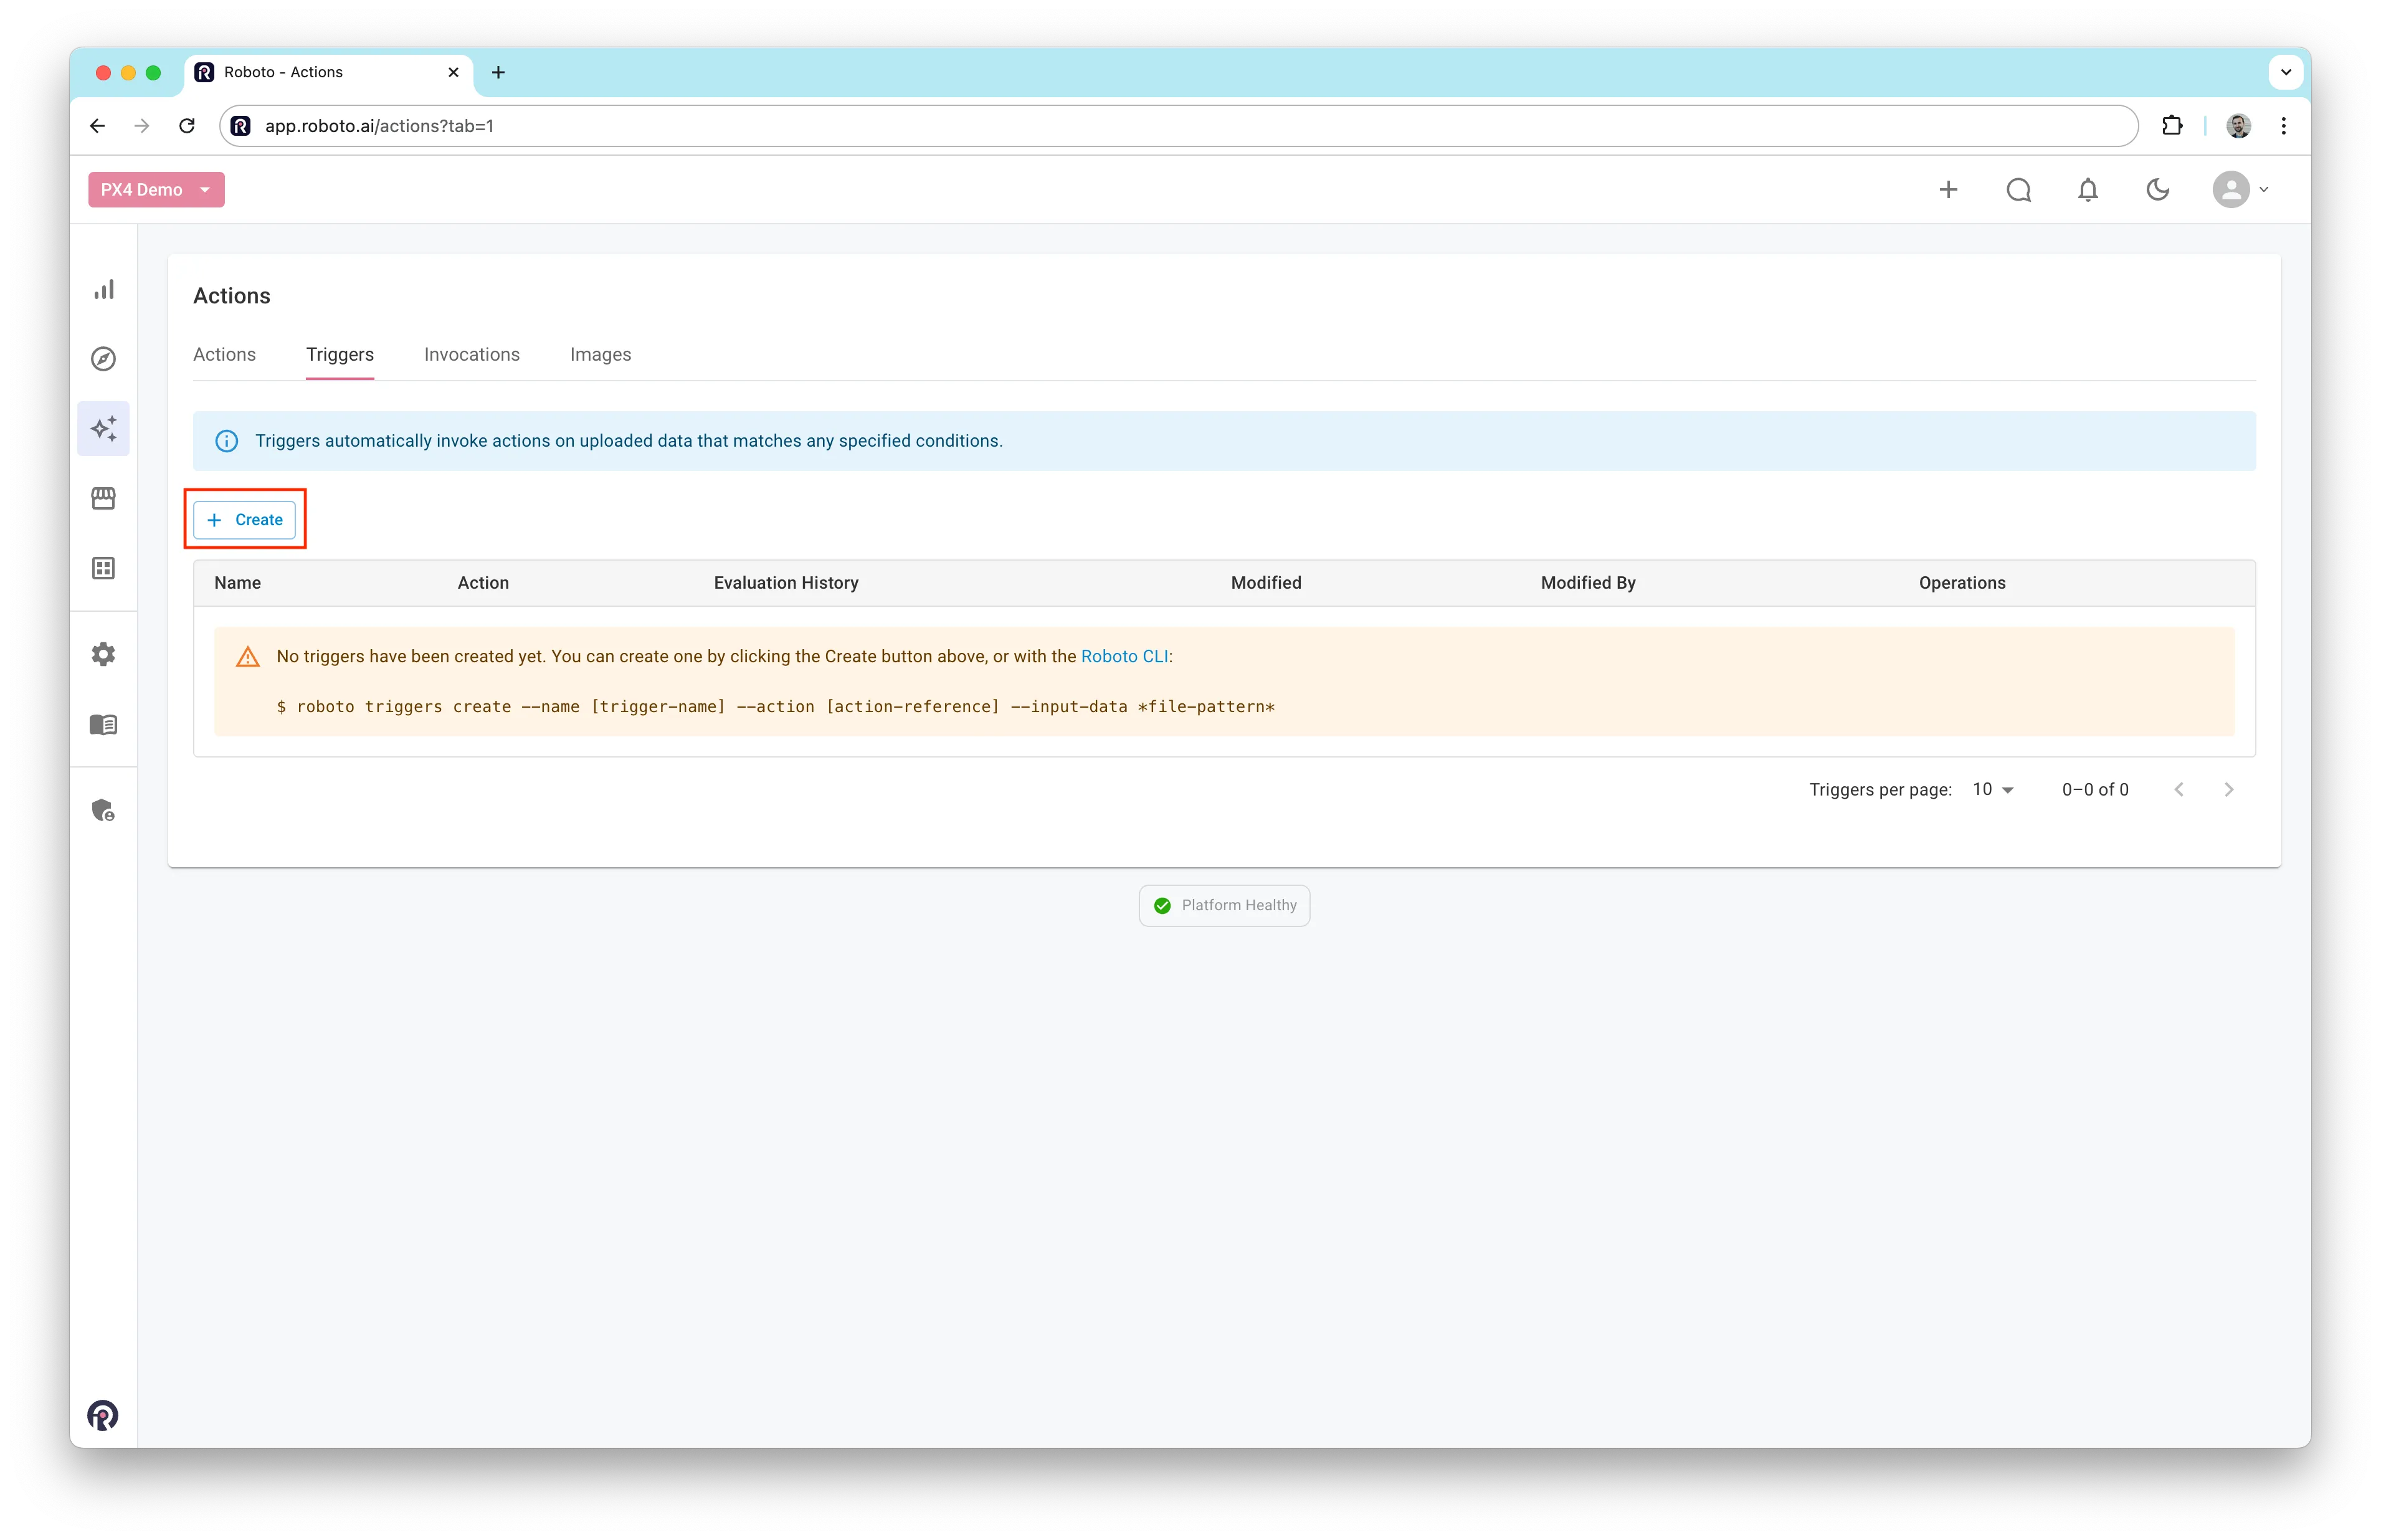
If your trigger list is empty or you don’t have one set up for PX4 logs, you can easily create a new one.
- Click the
+ Createbutton on the Triggers page.
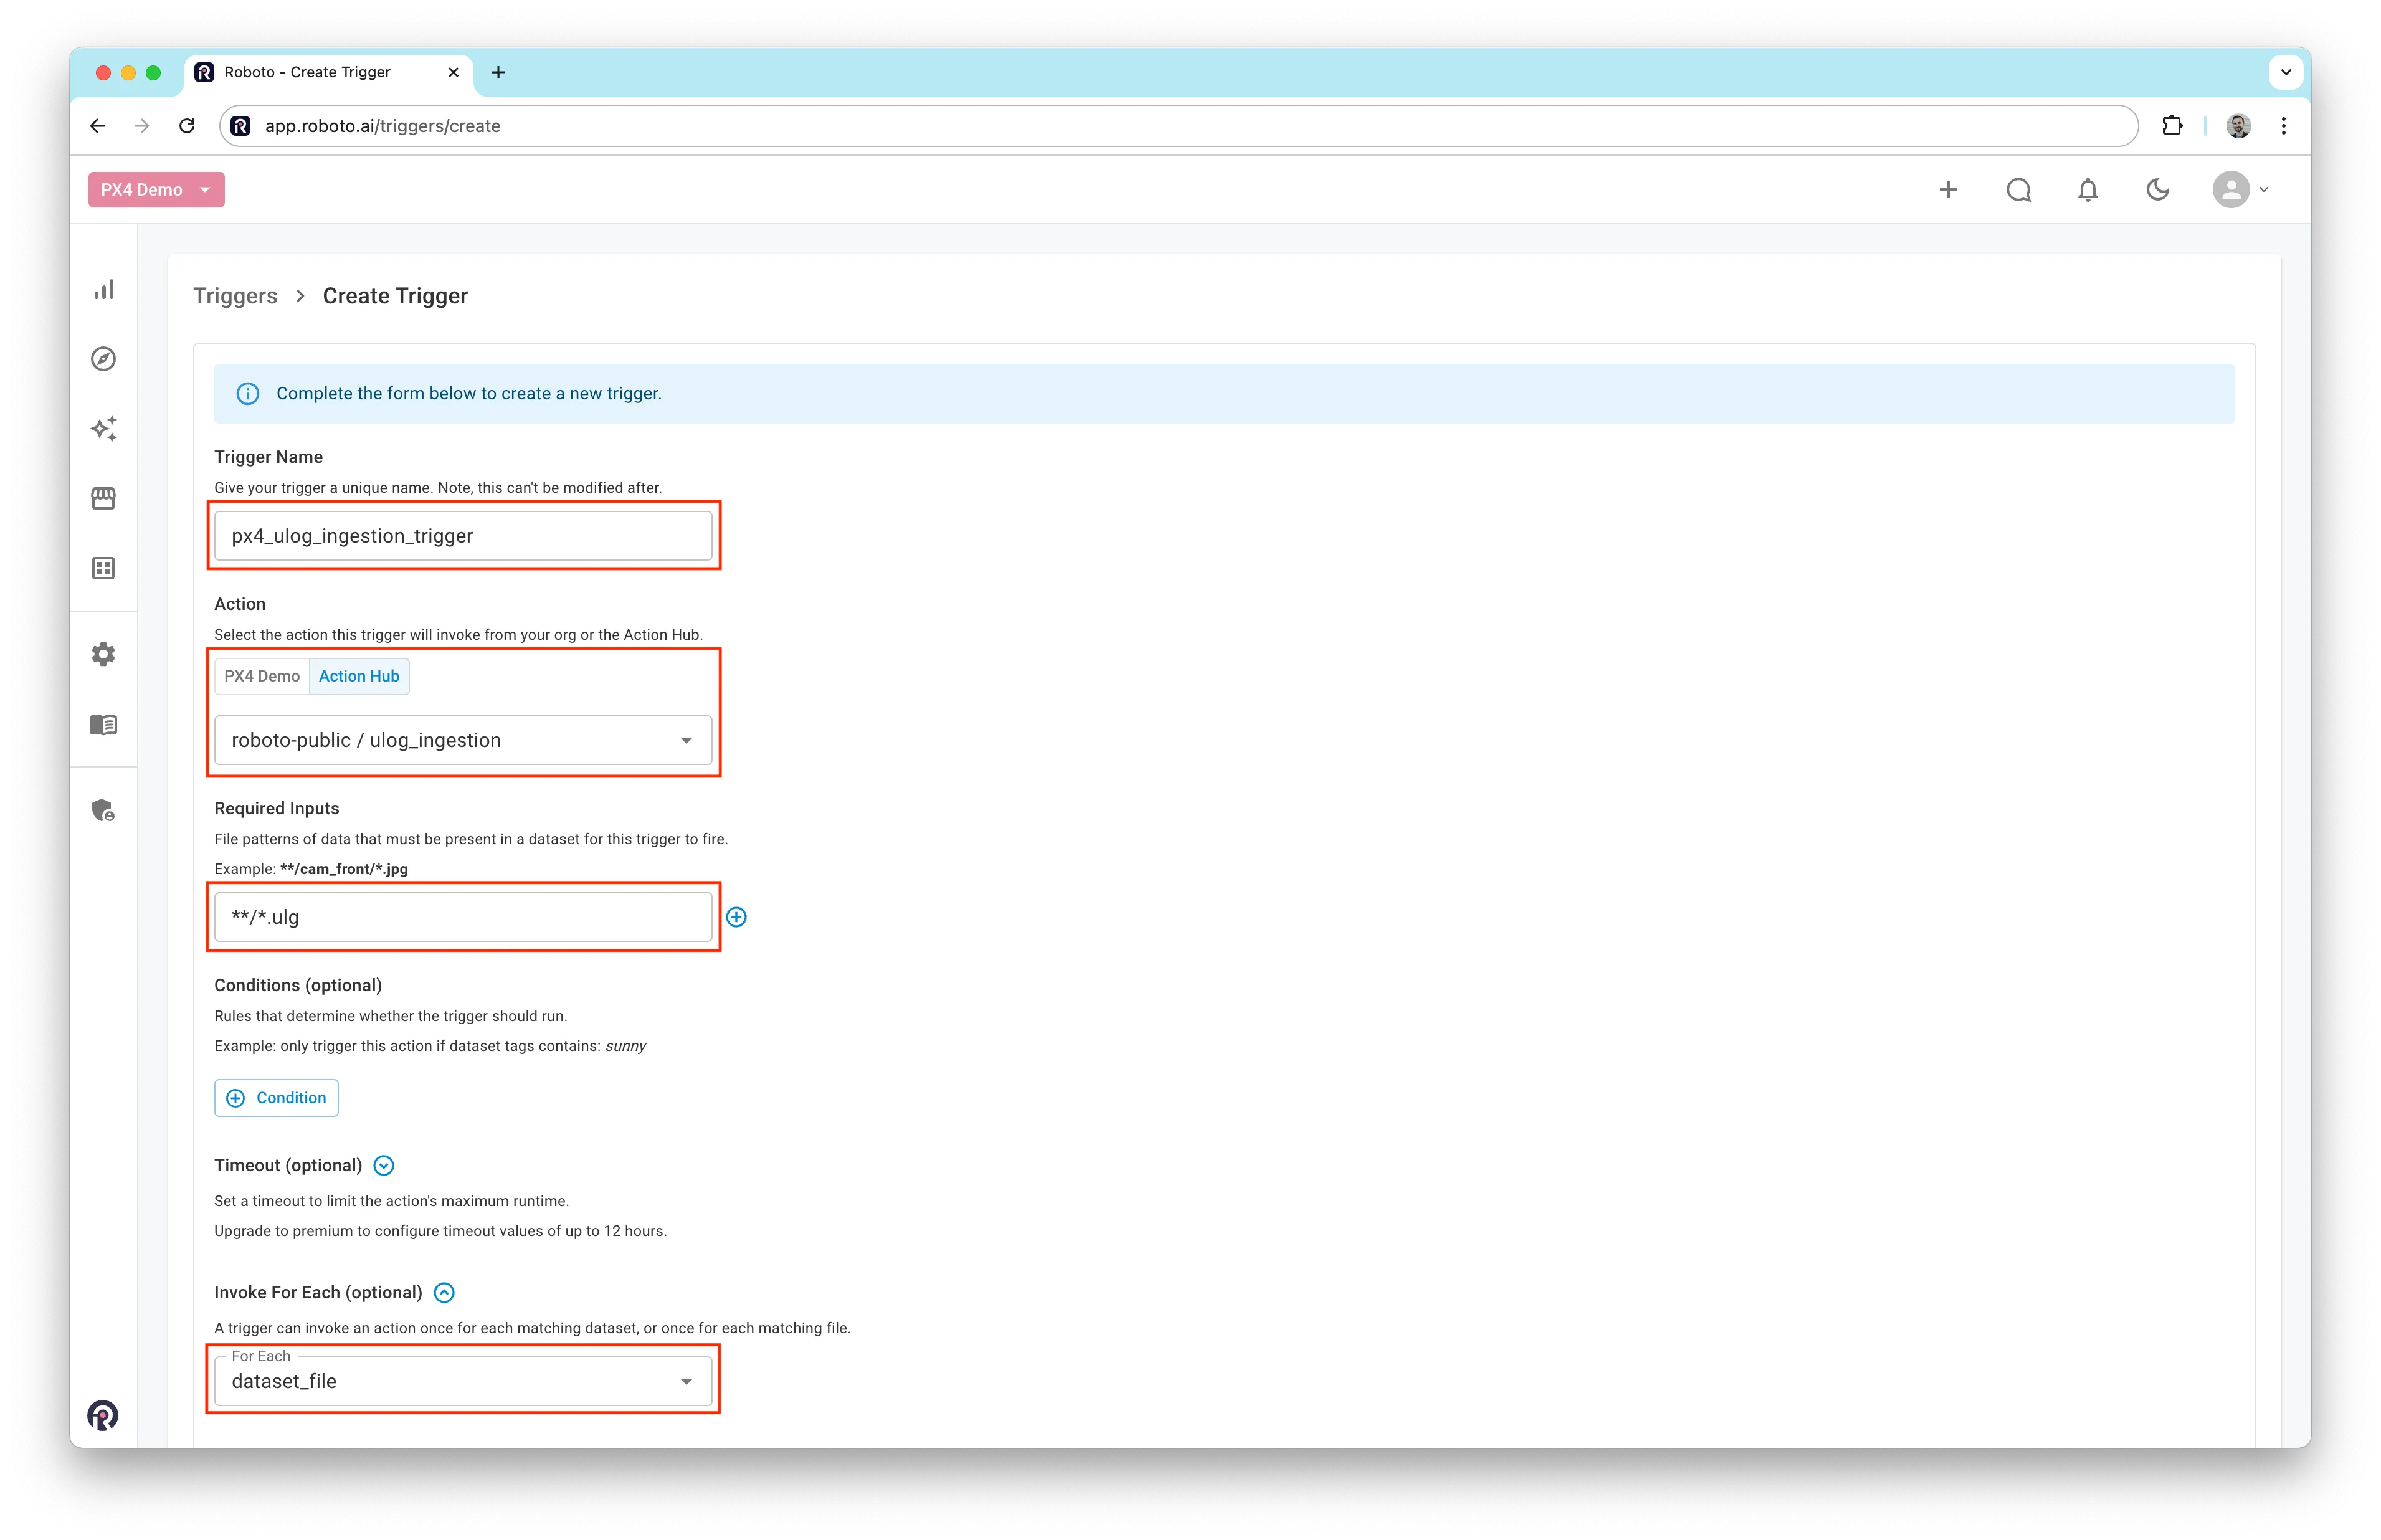
- Fill out the trigger creation form: give the trigger a name, leave Trigger Type on Event-Driven and Trigger On set to File Uploaded, then under Action select Action Hub to locate the
ulog_ingestionaction, and setRequired Inputsto match your log file type, e.g.**/*.ulg. The optional Invoke For Each setting already defaults todataset_file, so each uploaded log is processed individually.
- Once the form is completed, click the
Create Triggerbutton.
After creating the trigger, continue with the Get Started guide to begin working with PX4 ULog files.